Offices
Oxera, Broadgate Tower
Cabinet-top troughs, a built-in reception planter and freestanding specimens for Oxera's office at Broadgate Tower, and how we install with GRP liners and a drainage layer so the water stays where it should.
Every planter in an office is a container of wet compost sitting on someone else's joinery. This is how we planted Oxera's floor at Broadgate Tower so the water stays where it should.
The project
Oxera's office sits high in Broadgate Tower, with floor-to-ceiling glass and the City skyline on every side. The planting had to soften a working floor of desks and lockers without competing with that view.
We planted three kinds of container:
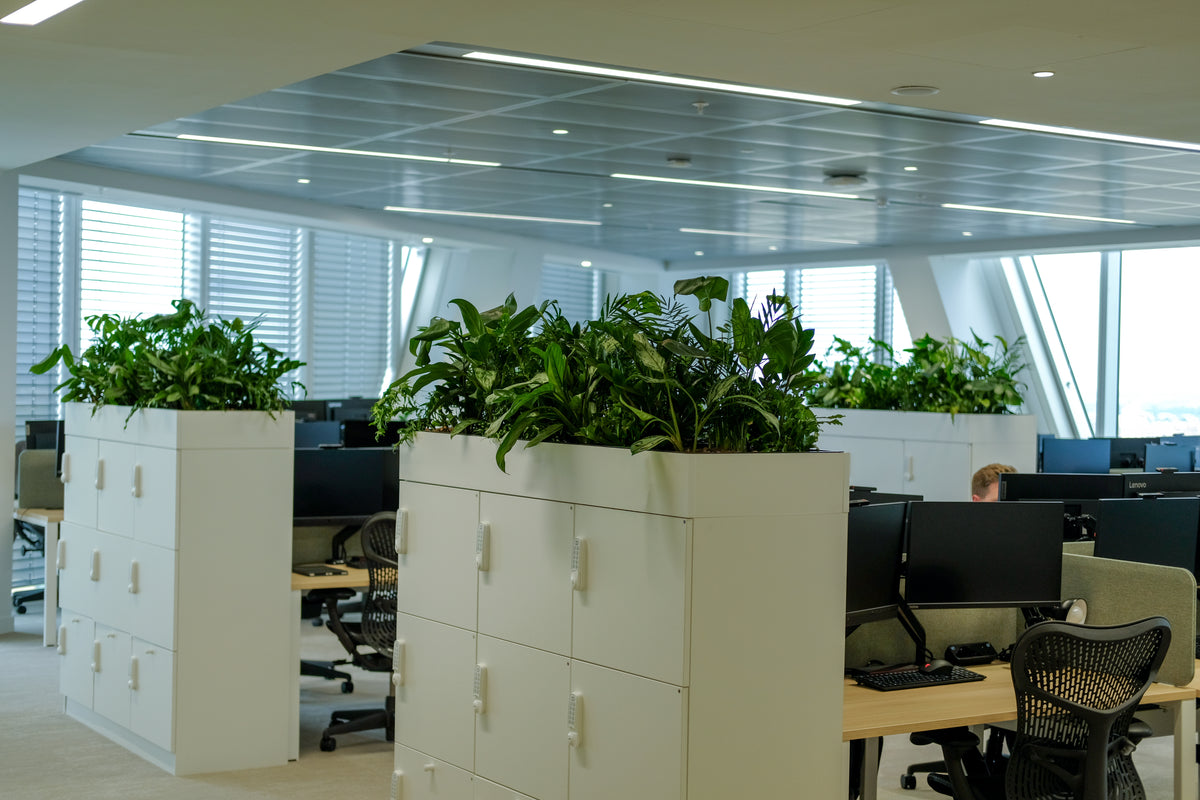
- Cabinet-top troughs running along the locker banks, which screen the desks and put green at eye level.
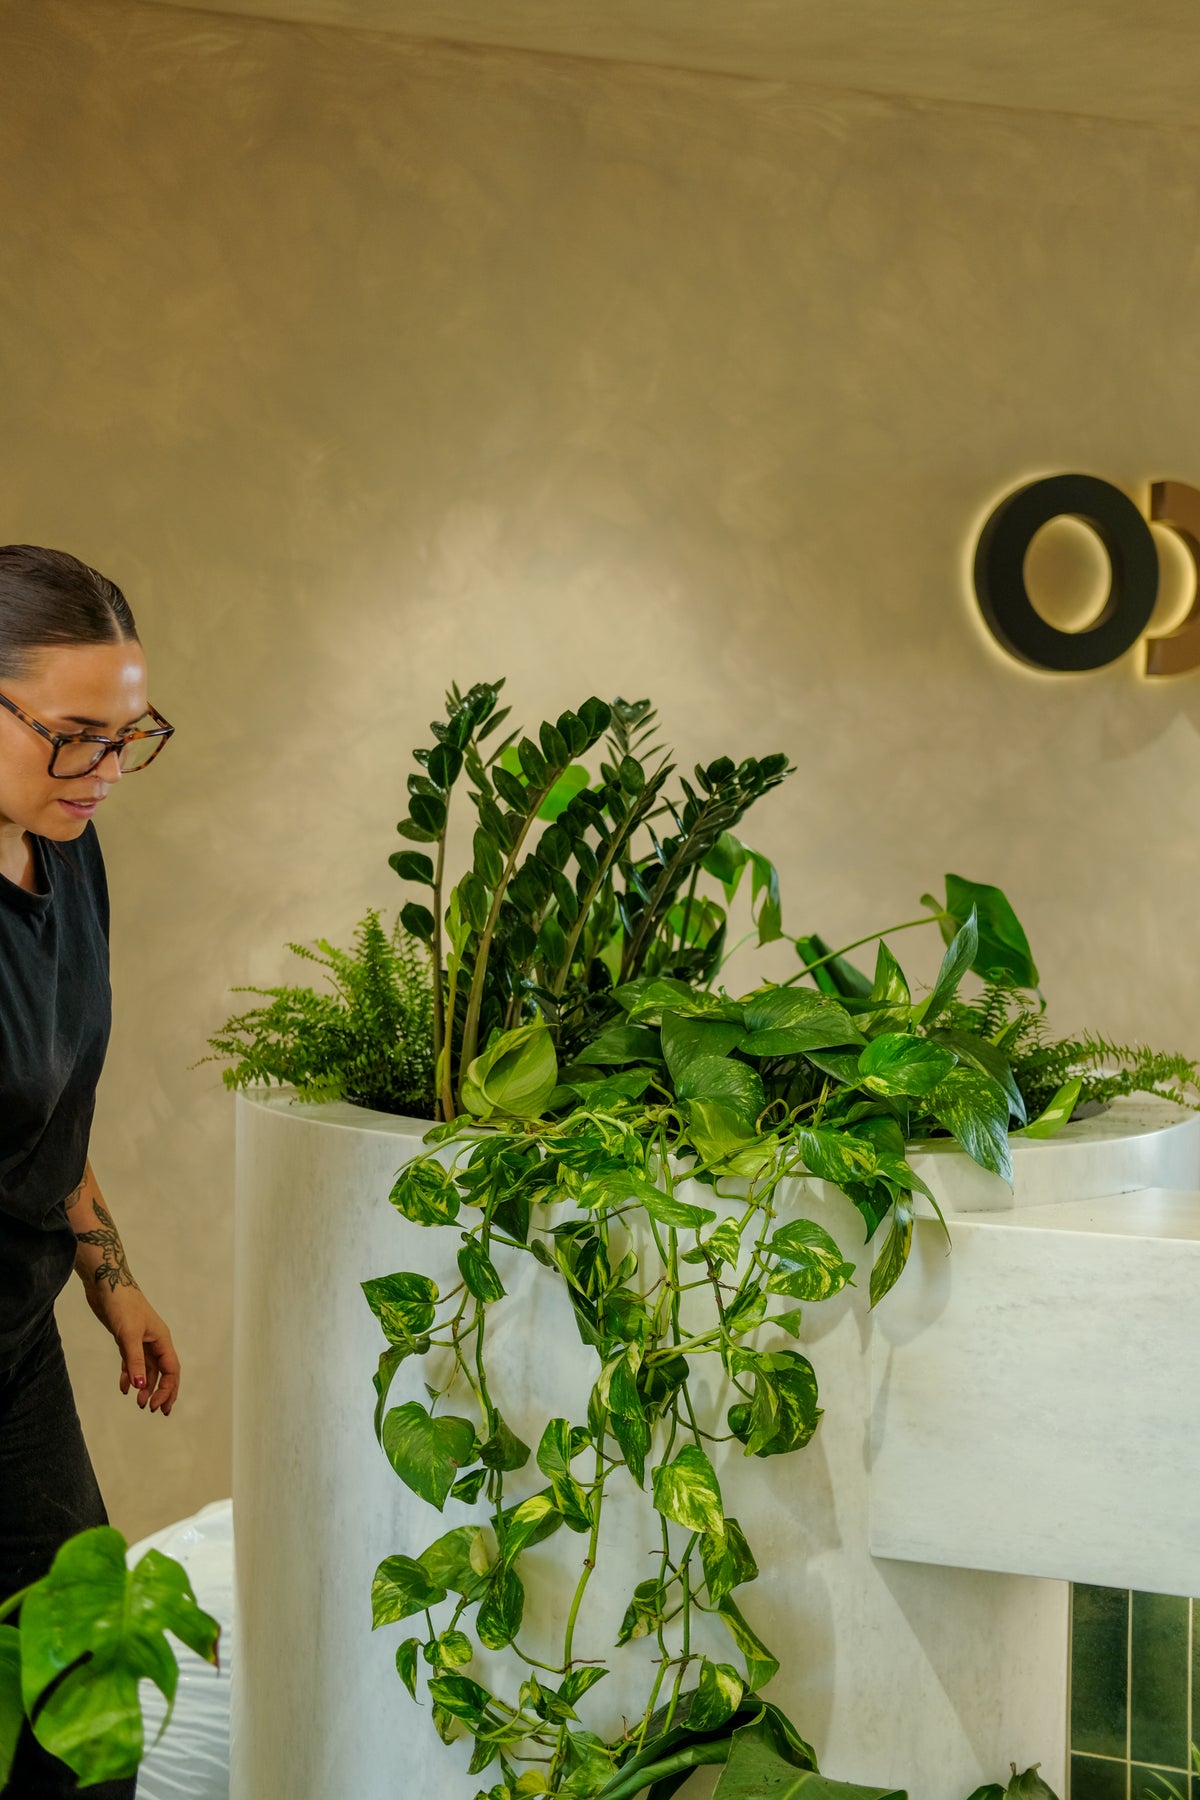
- A built-in reception planter, a circular stone drum at the end of the front desk.
- Freestanding specimens in the breakout areas and window corners.
Each one sits on something expensive: powder-coated storage, a stone desk, a timber floor. So each one is built the same way underneath, around a watertight liner and a drainage layer.
[Image: wide shot of the open-plan floor with planted locker banks.]
Cabinet-top troughs
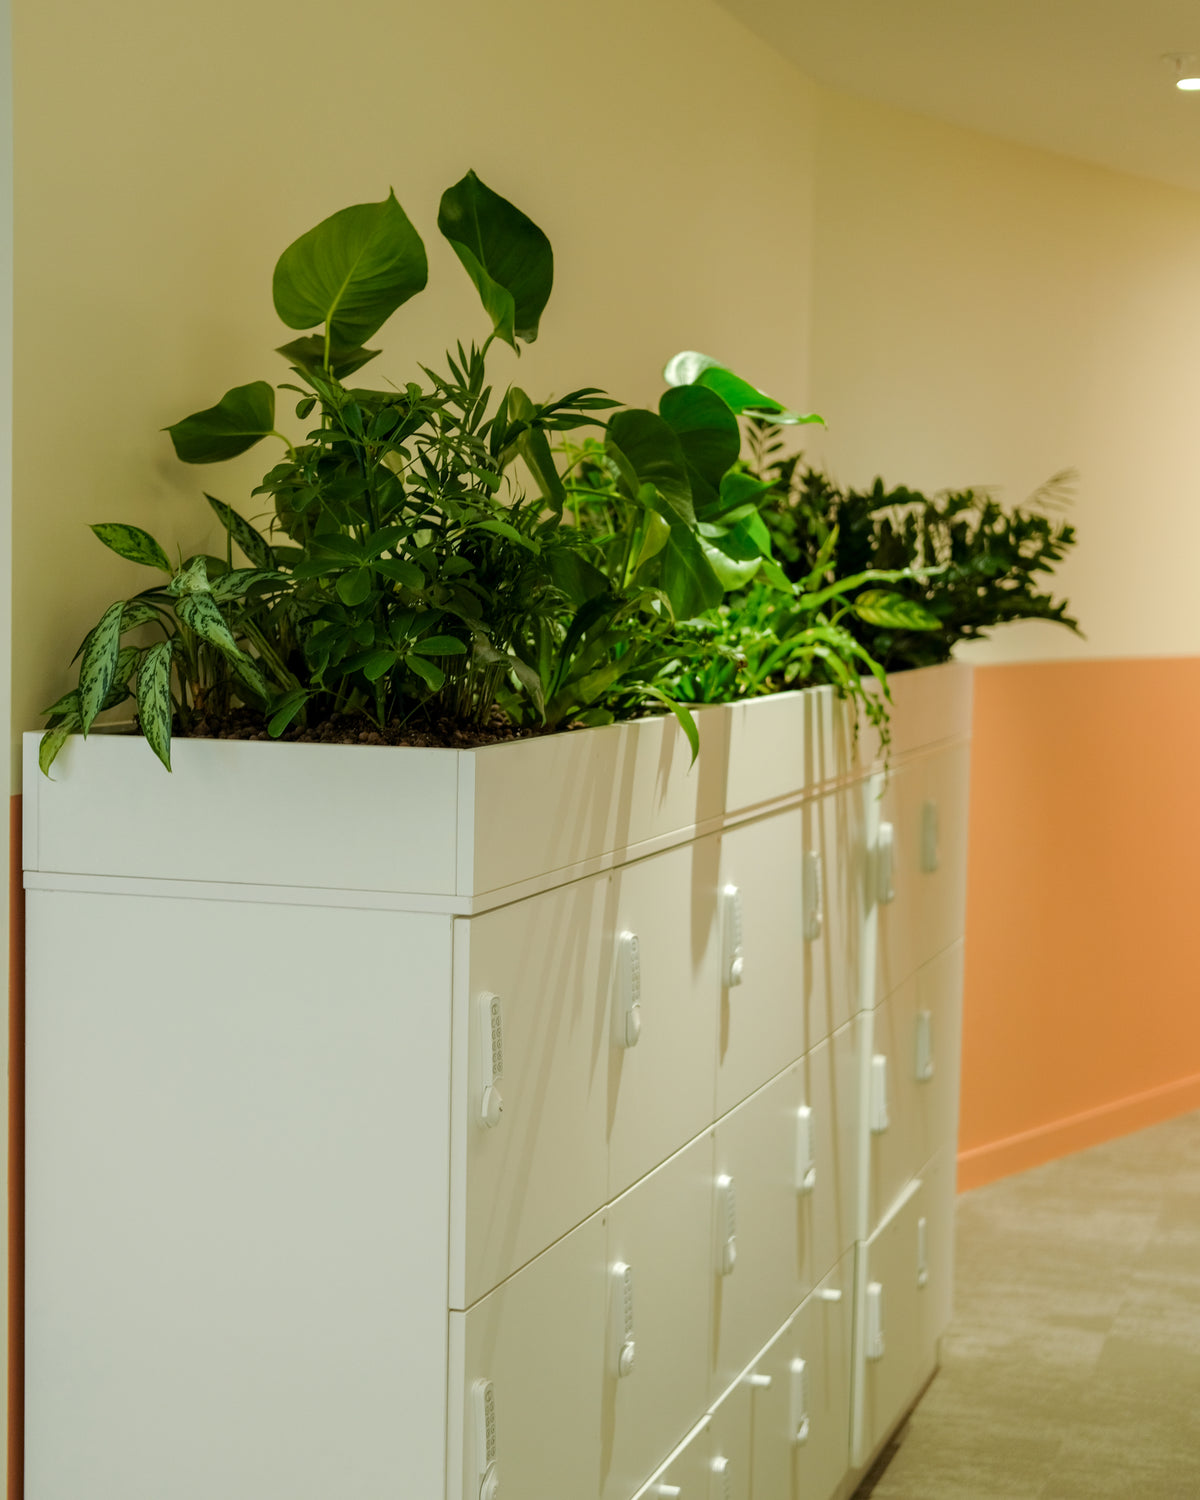
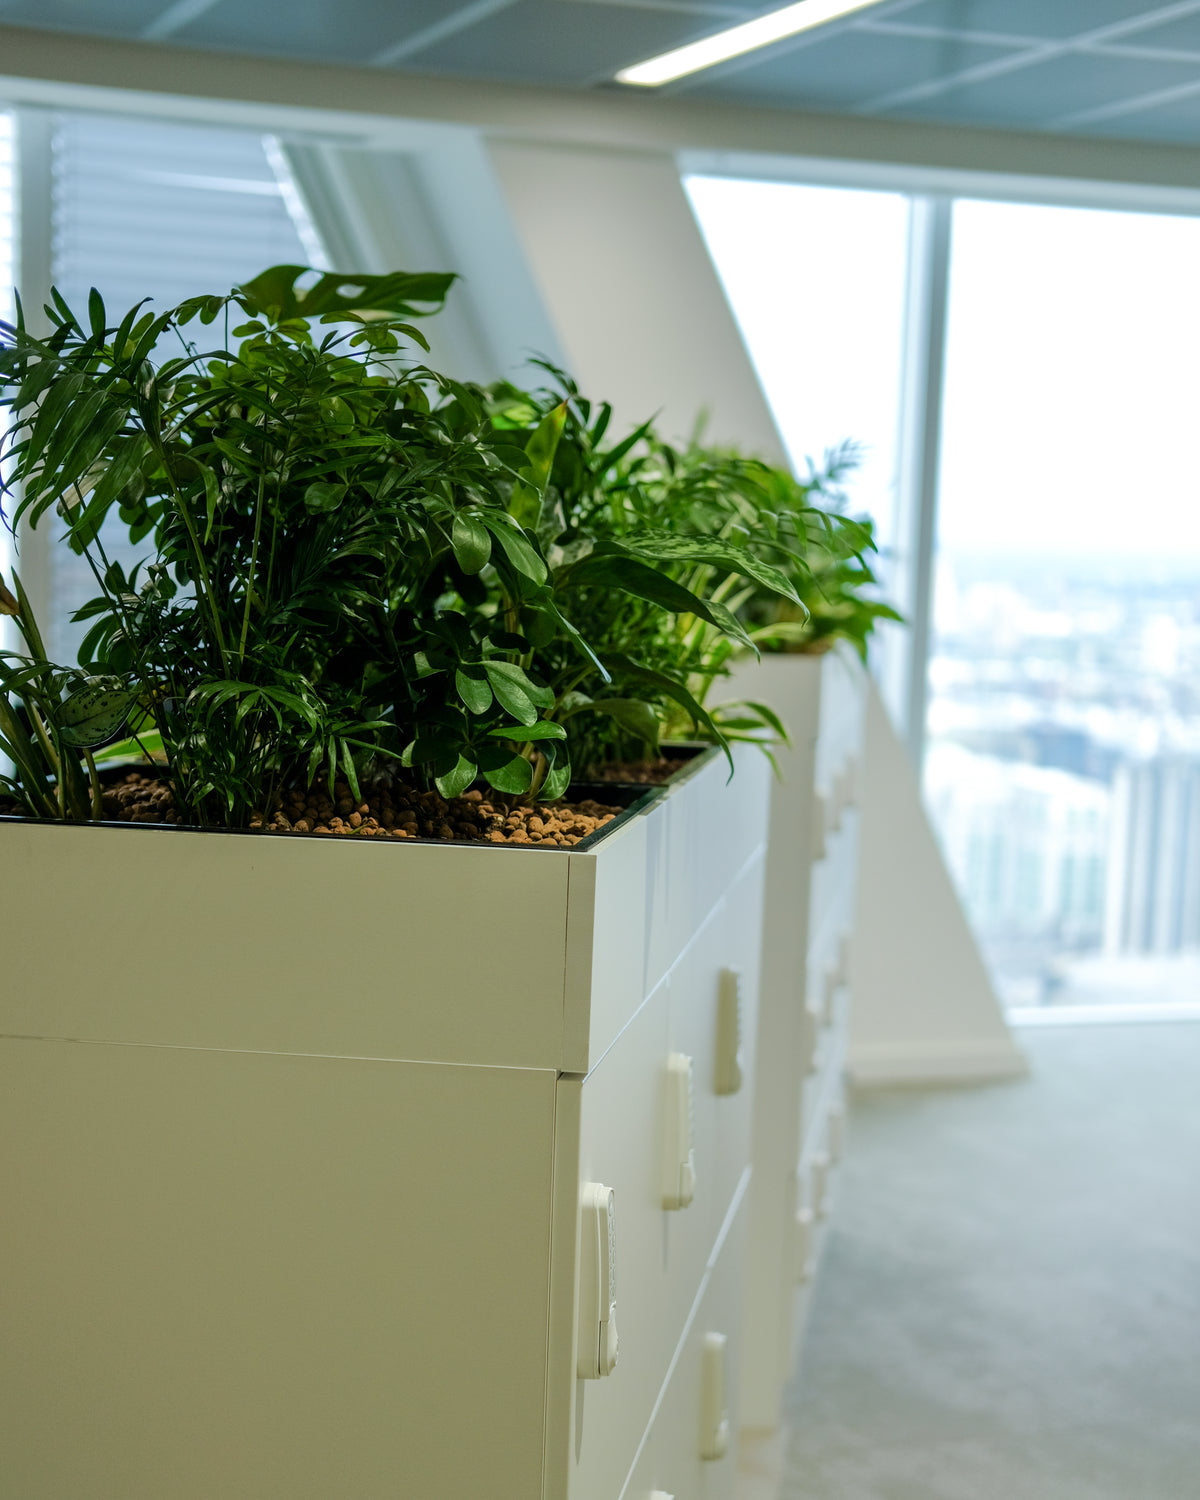
The troughs are part of the storage: a white box section on top of each locker bank, matched to the cabinets below. Inside each one is a separate black liner that holds the planting, so no compost or water ever touches the furniture.
Trough planting works when it reads as one continuous hedge of foliage, not a row of pots. We mix heights and leaf shapes along the run:
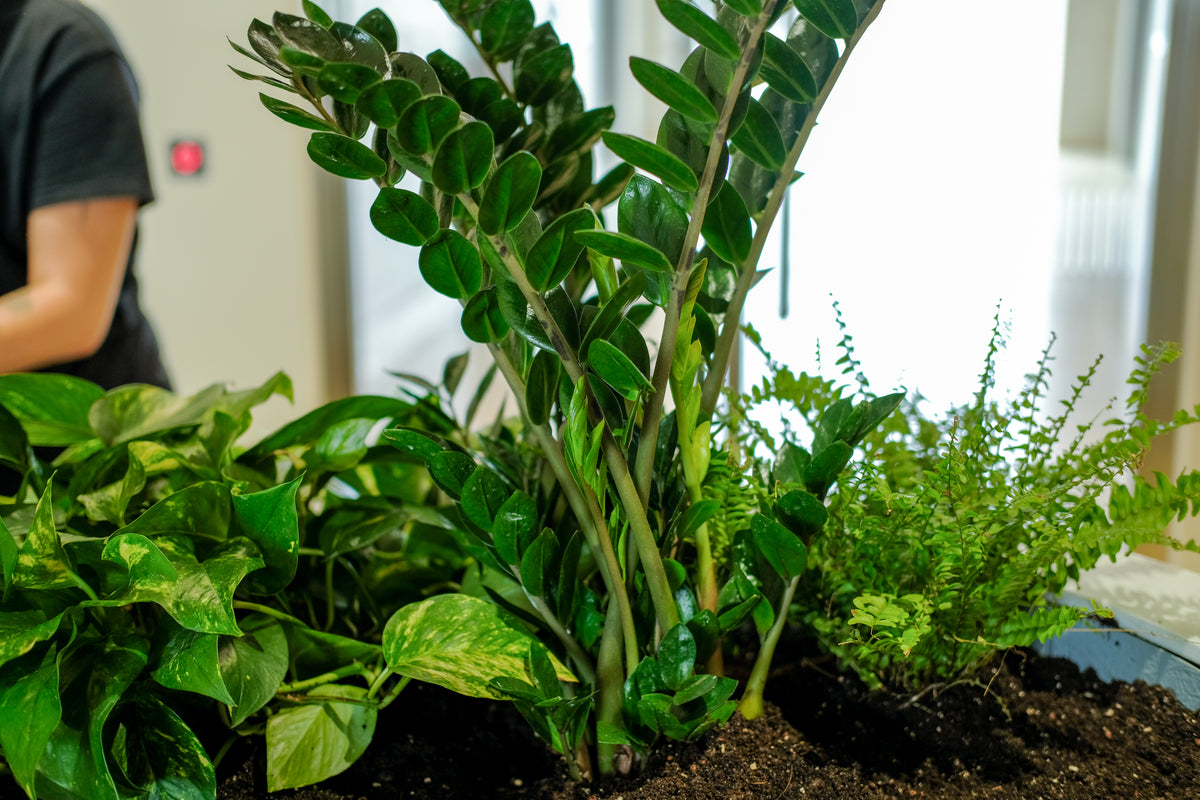
- Parlour palm and schefflera for height and movement.
- Monstera and philodendron for big, loose leaves that break the top line.
- Aglaonema, peace lily and ZZ plant for dense mid-level cover.
- Ferns to spill over the front edge.
All of these tolerate office light and air conditioning, and they want watering at a similar rate. That matters more than it sounds: plants sharing one liner share one watering regime.
The surface is finished with a layer of expanded clay pebbles. It hides the compost, slows evaporation and keeps fungus gnats down.
[Images: locker-bank trough in the corridor; close-up of the liner edge and clay pebble top dressing.]
The reception desk
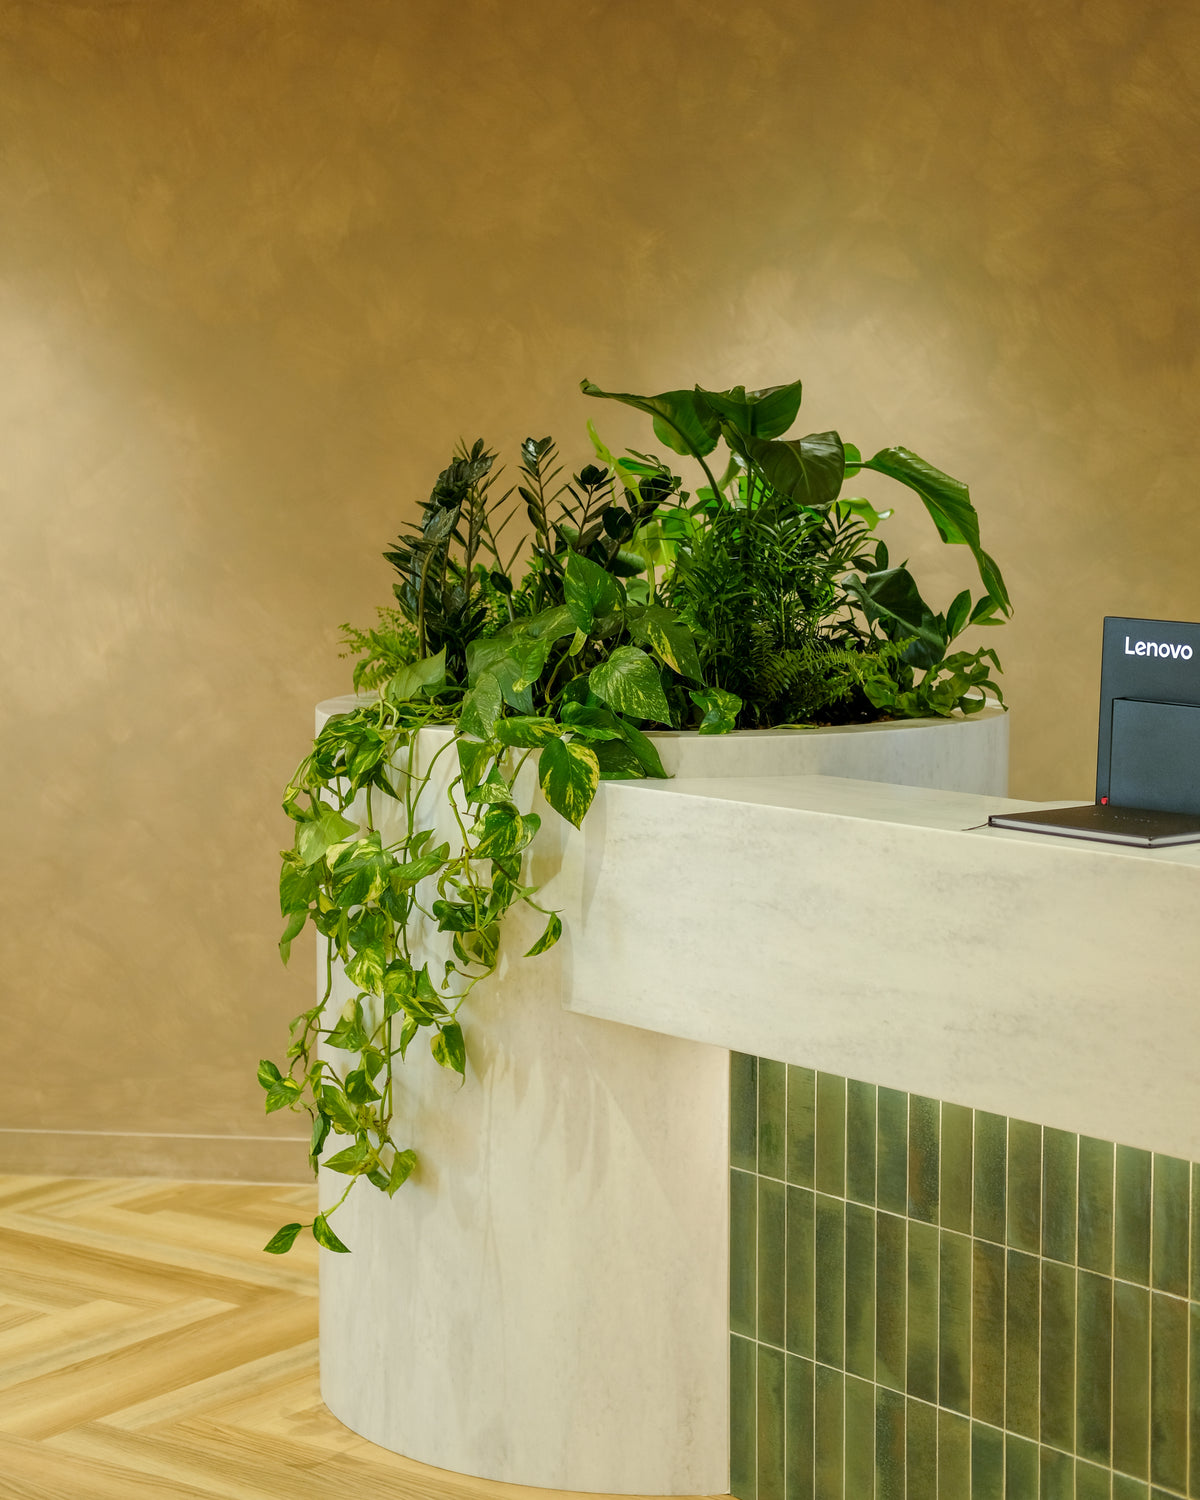
The reception planter is a circular drum in pale stone, built into the end of the desk. It is the first thing a visitor sees, and it is also a stone void with no drainage, joined to a desk full of cables.
The answer is a GRP liner. GRP (glass-reinforced plastic, or fibreglass) is rigid, light and completely watertight. The liner drops into the void as a single tub, so the stone is only ever a sleeve around it.
That separation does three jobs:
- It protects the joinery. Water and compost stay inside the tub; the stone and the desk carcass stay dry.
- It makes the planting serviceable. The whole liner can be lifted out if the desk ever needs work.
- It hides the mechanics. The liner sits just below the stone rim, so once planted you see foliage and stone, nothing else.
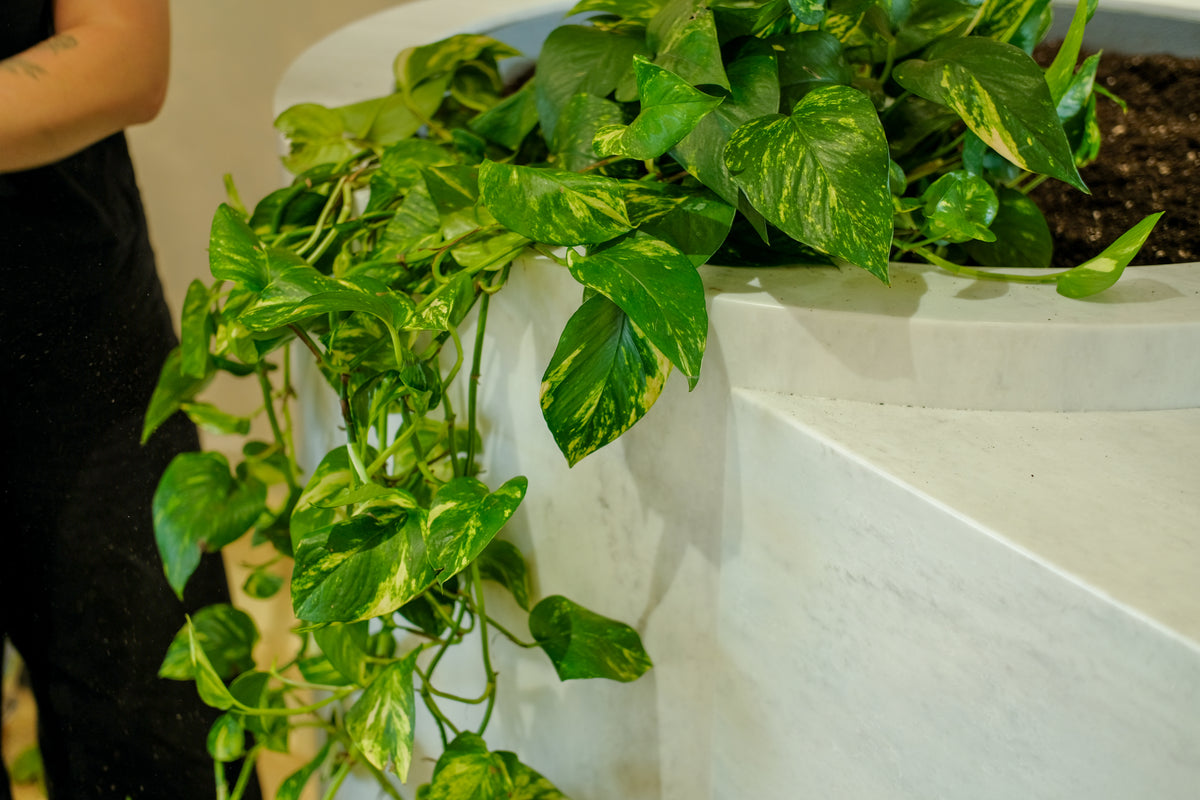
We planted it with ZZ plant and parlour palm for height, Boston fern around the edge, and golden pothos trailing down the face of the drum.
[Images: finished reception planter; the grey GRP liner being lowered into the stone drum.]
How we install
The build-up is the same for a trough or a built-in planter, and it goes in from the bottom up.
- Fit the liner. The GRP liner is lowered into the void and checked for level, with its rim sitting just below the finished edge.
- Lay the drainage layer. Expanded clay pebbles go in first, spread evenly across the base. Indoors there is no outlet for excess water, so this layer is the drain: surplus water collects among the pebbles, below the roots, instead of sitting in the compost.
- Add the compost. A free-draining houseplant mix goes on top and is firmed by hand to remove air pockets, leaving room at the rim for watering.
- Plant. Tall structural plants go in first, then the mid-layer, then ferns and trailers at the edge. We place everything before firming in, and turn each plant to its best face.
- Top dress and clean down. A final layer of clay pebbles covers the compost, leaves are wiped, and the surrounding surfaces are cleaned. We watered in lightly: a sealed liner needs far less water than people expect.
[Images, in sequence: liner going in; clay pebbles poured into the base; compost being levelled; planting the edge; finished planter.]
Most failed office planting comes down to water with nowhere to go. A sealed liner with a drainage layer gives it somewhere to go that is not the roots, the cabinet or the floor.
Freestanding specimens
Away from the desks, single large plants do the work. Each one is chosen for its position and the light it gets.
| Plant | Where | Why it suits the spot |
|---|---|---|
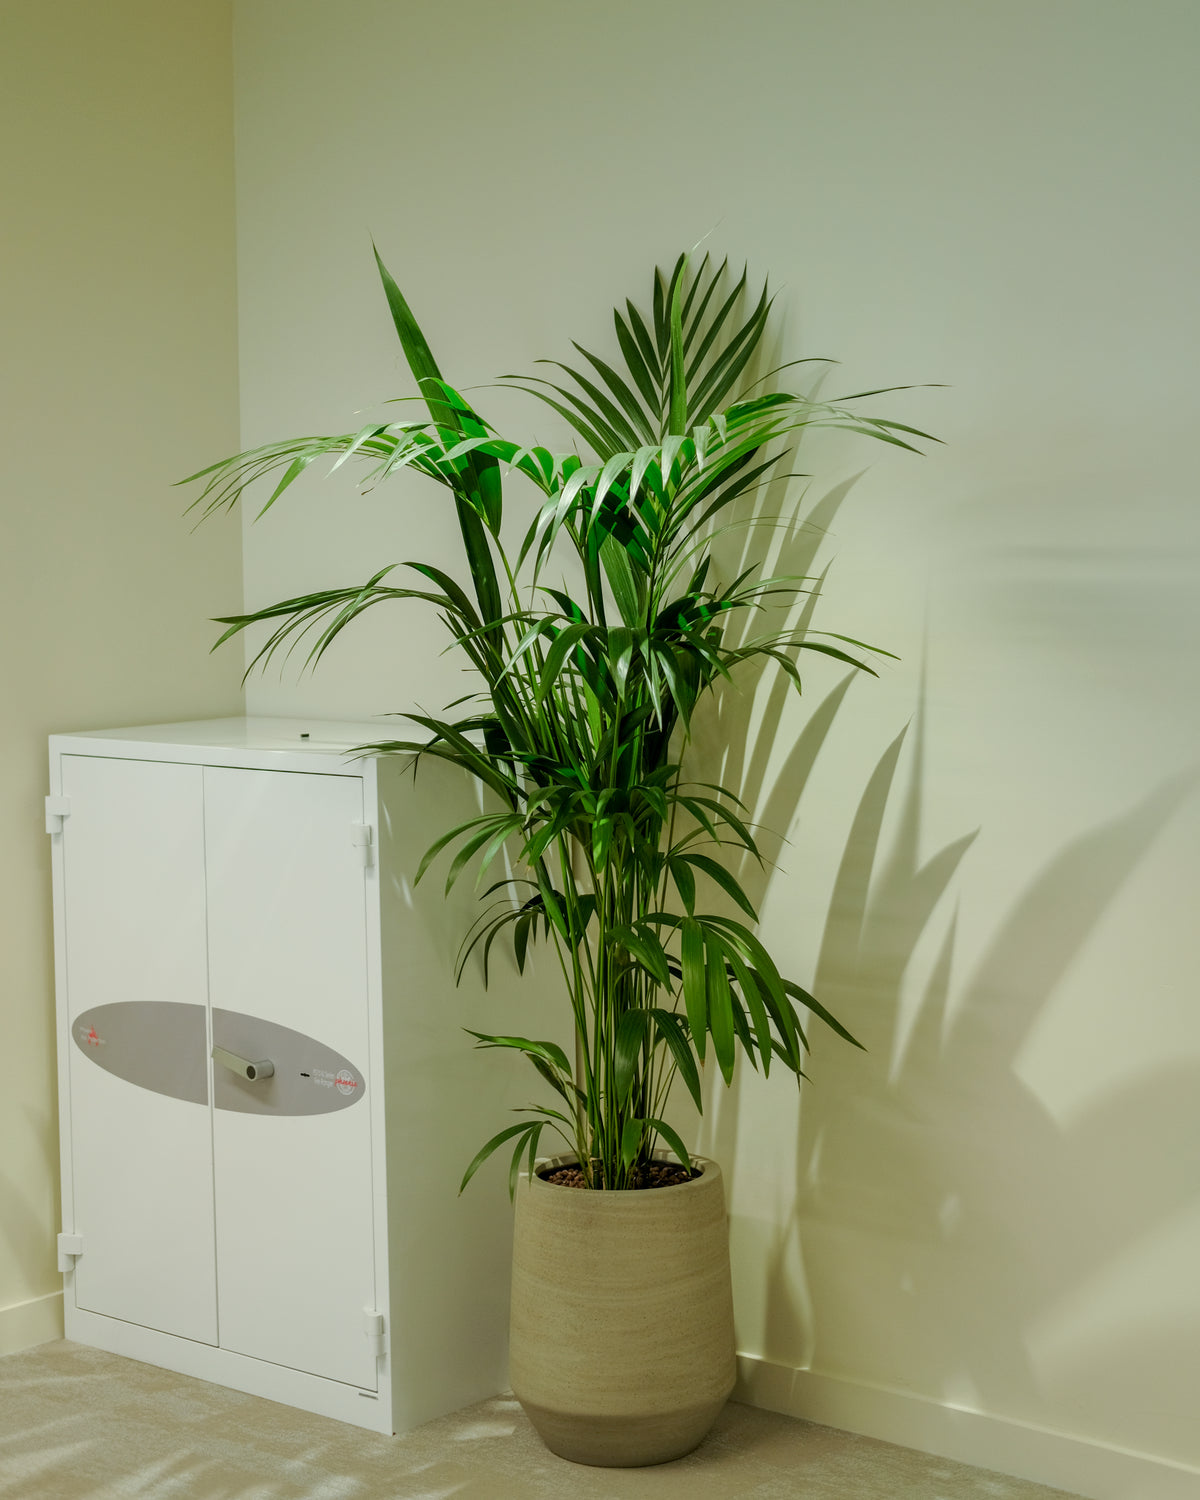
| Kentia palm | Interior corner beside storage | Tolerates low light; arching fronds soften a hard corner |
| Ficus 'Amstel King', plaited stem | Window bay in a breakout area | Enjoys bright light; a slim trunk keeps the view open |
| Rubber plant | Sunny window corner | Handles direct sun through glass; dark leaves read against the skyline |
| Sansevieria | Meeting tables | Small, upright and close to unkillable |
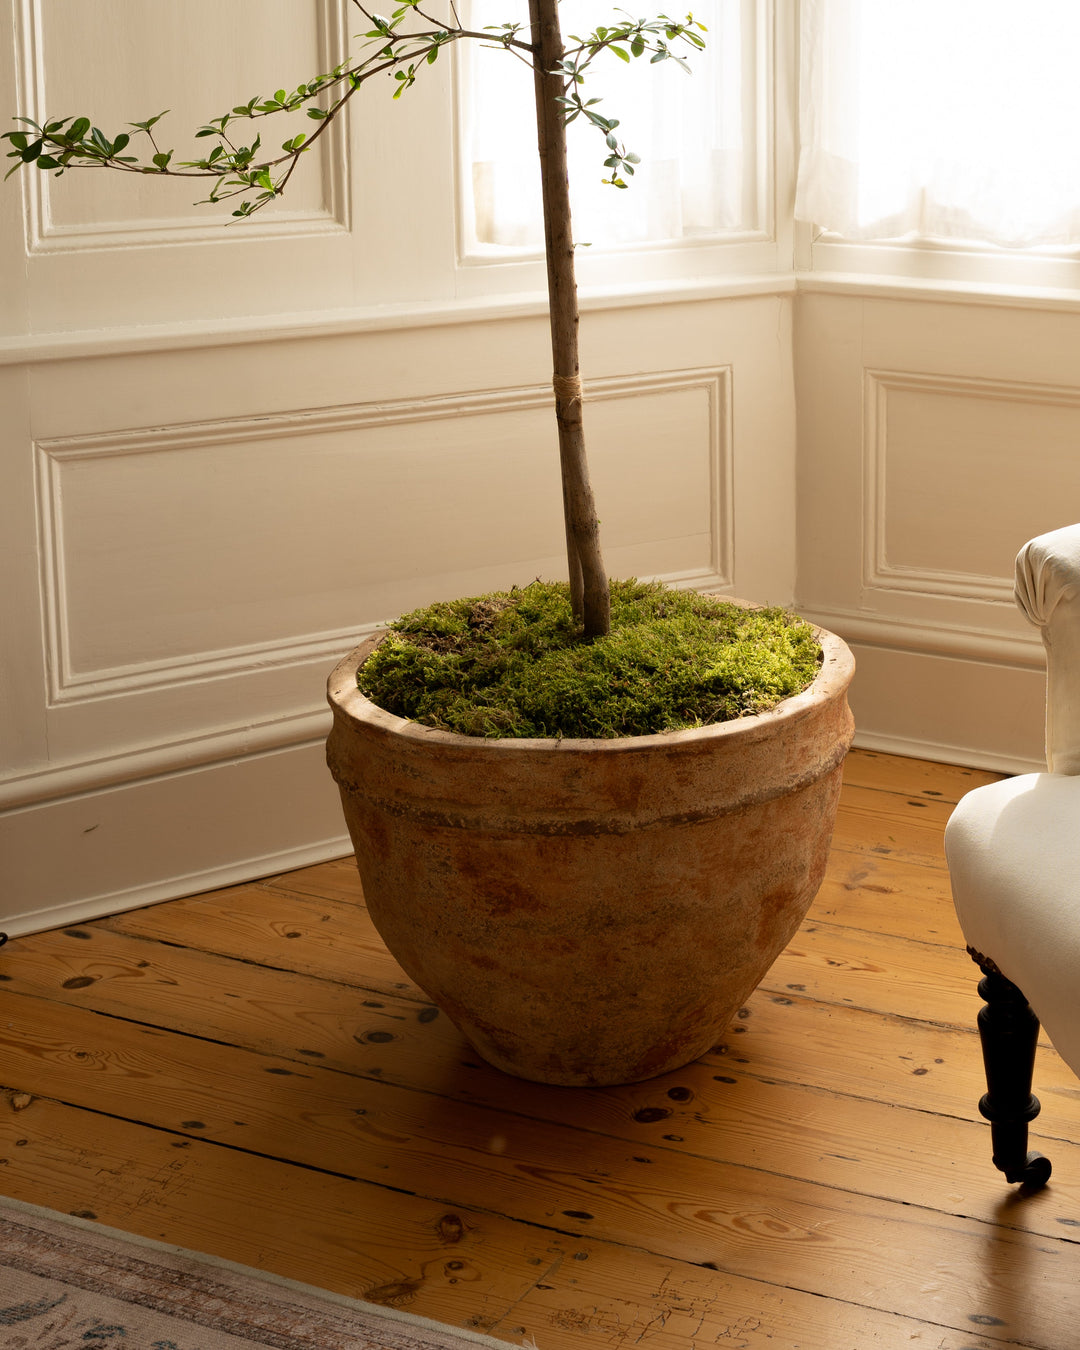
The pots are in stone and terracotta tones picked up from the interior scheme. Each has no drainage hole, and is built up inside the same way as the troughs, with clay pebbles on the surface.
[Images: kentia palm by the cabinet; ficus and rubber plant at the windows; table with the skyline behind.]
What to settle before fit-out
Built-in planting is easy when it is designed in and awkward when it is added at the end. If you are a designer or contractor planning planters into joinery, these are the points to fix early:
- Internal dimensions. We need the clear internal size of every void to specify the liner. Allow depth for a drainage layer as well as compost.
- Access. The liner has to drop in from above, so the opening cannot be narrower than the void below it.
- Weight. Wet compost is heavy. Cabinet tops and desk carcasses need to be rated for it.
- Light. Tell us what each position gets, and we will choose plants that will still look good in a year.
- Sequence. We plant last, after dust-producing trades have finished and the furniture is in.
- Aftercare. Decide who waters. Sealed planters are killed by kindness far more often than neglect.
Planning planting for a commercial space? Send us the drawings at the joinery stage and we will specify liners, plants and installation together.



Planning planting into a fit-out? Talk to us early — the light survey is worth more before the ceiling goes in than after. See more projects or email projects@plantdrop.co.uk.